Dipping Your Toe Into Photo Editing with 5 Basic Edits
We talk a LOT about camera settings, composition, lighting… It’s all-important, don’t get me wrong, BUT (always a but) there are also a lot of things we can do after the fact to improve our photos. Of course, the best option is to get the exposure and composition right in your camera WHEN you are creating the photo. Absolutely. That makes it easier for all parties. But let’s face it, that just doesn't always happen!
Take me, for instance. I have studied a LOT (I mean, a lot) about photography - all aspects. Classes, books, videos, and blog posts on travel photography, camera settings, lighting, exposure...oh the list goes on. And yet? Sometimes I get SO excited about being somewhere, about what I’m seeing, that all of the knowledge just leaves my brain. Where does it go? I don’t really know. It’s like it takes a vacation because I’m so focused on the little French village, or adorable cat sitting in an archway in Venice. It thinks “well she seems occupied, I guess she doesn’t need me.”
And so...my camera and I are on our own. And the settings and focus sometimes end up EXACTLY where they should be. And sometimes they don’t. And there’s also the issue of lighting when we travel. We can’t control it. It might be midday harsh sun and that’s just what we have to deal with. No amount of camera settings genius can fix the deep shadows and bright sun in the same shot.
But guess what can? Post-processing. Now to be clear, I’m pretty minimalist when it comes to post-processing my photos. I want them to look real. I want to just enhance them so it looks like I remember it looked like, not what my camera captured. This is in no way disparaging those photographers who go all out with processing. There is some amazing work out there, and it’s an art in itself. Brook Shaden is one artist who I admire. Her work could not be more different than mine, and she is a genius when it comes to Photoshop. But she inspires me - in a haunting, how the hell does she do that kind of way. That’s what art is all about, right?
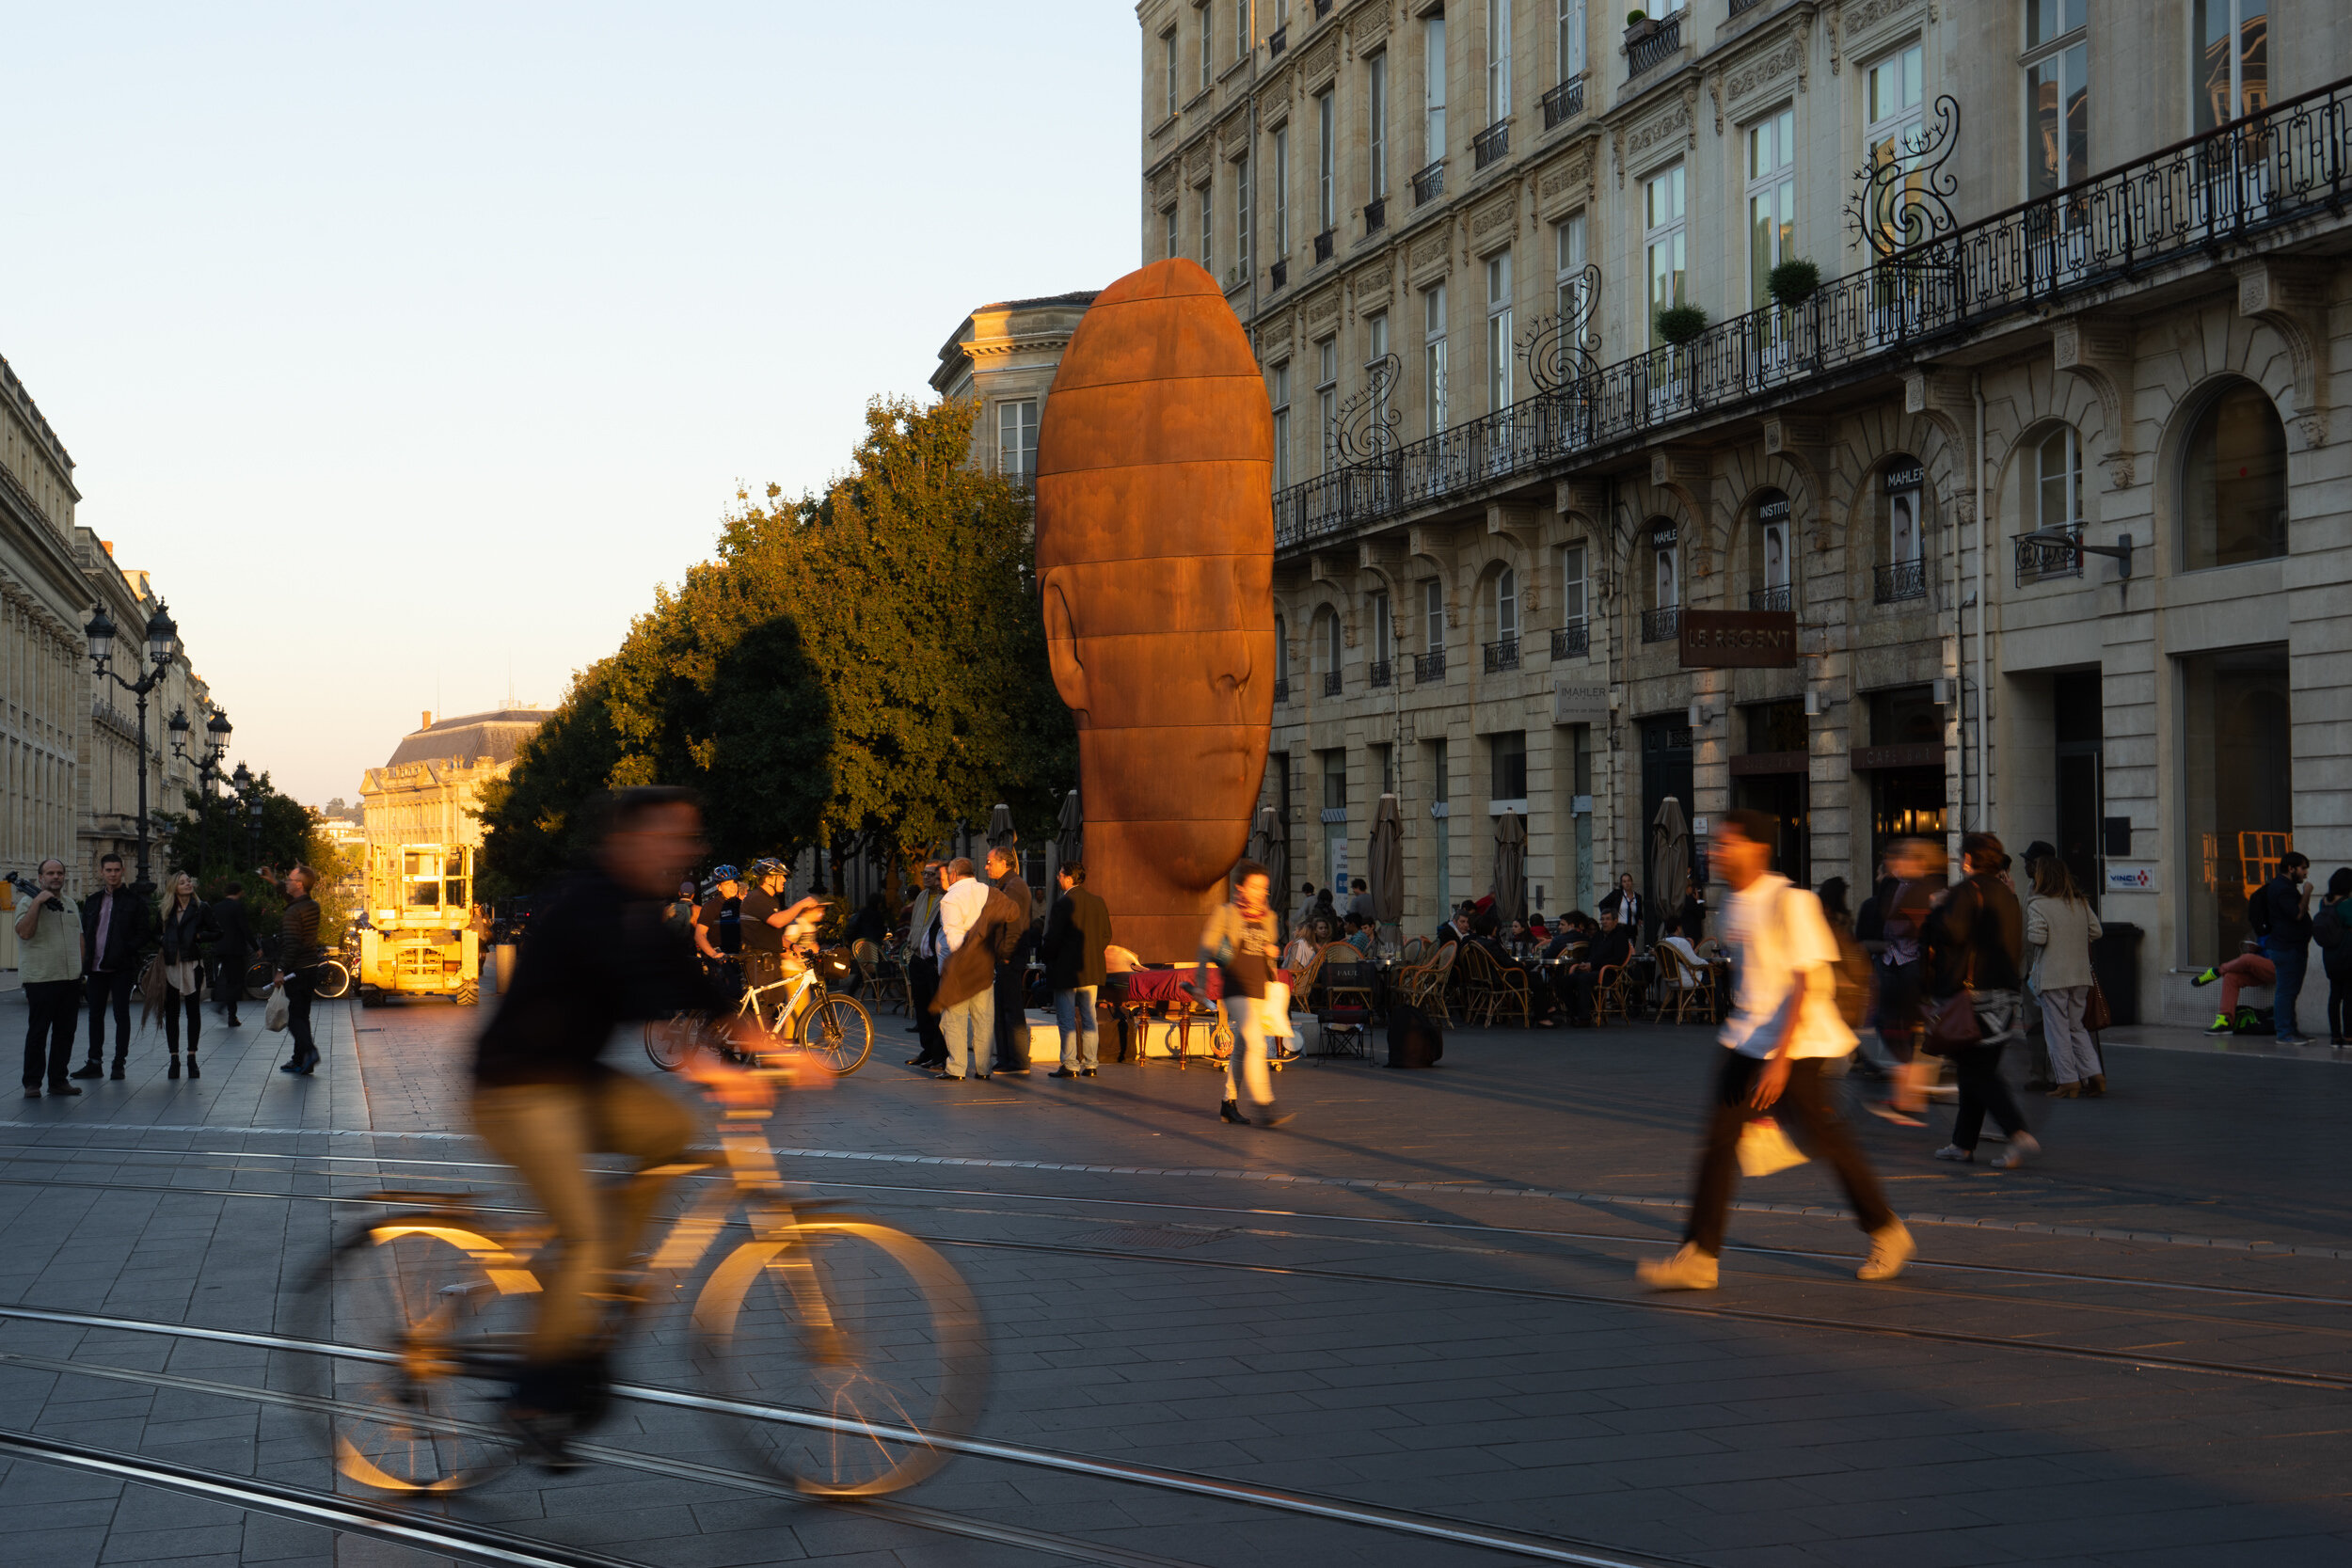
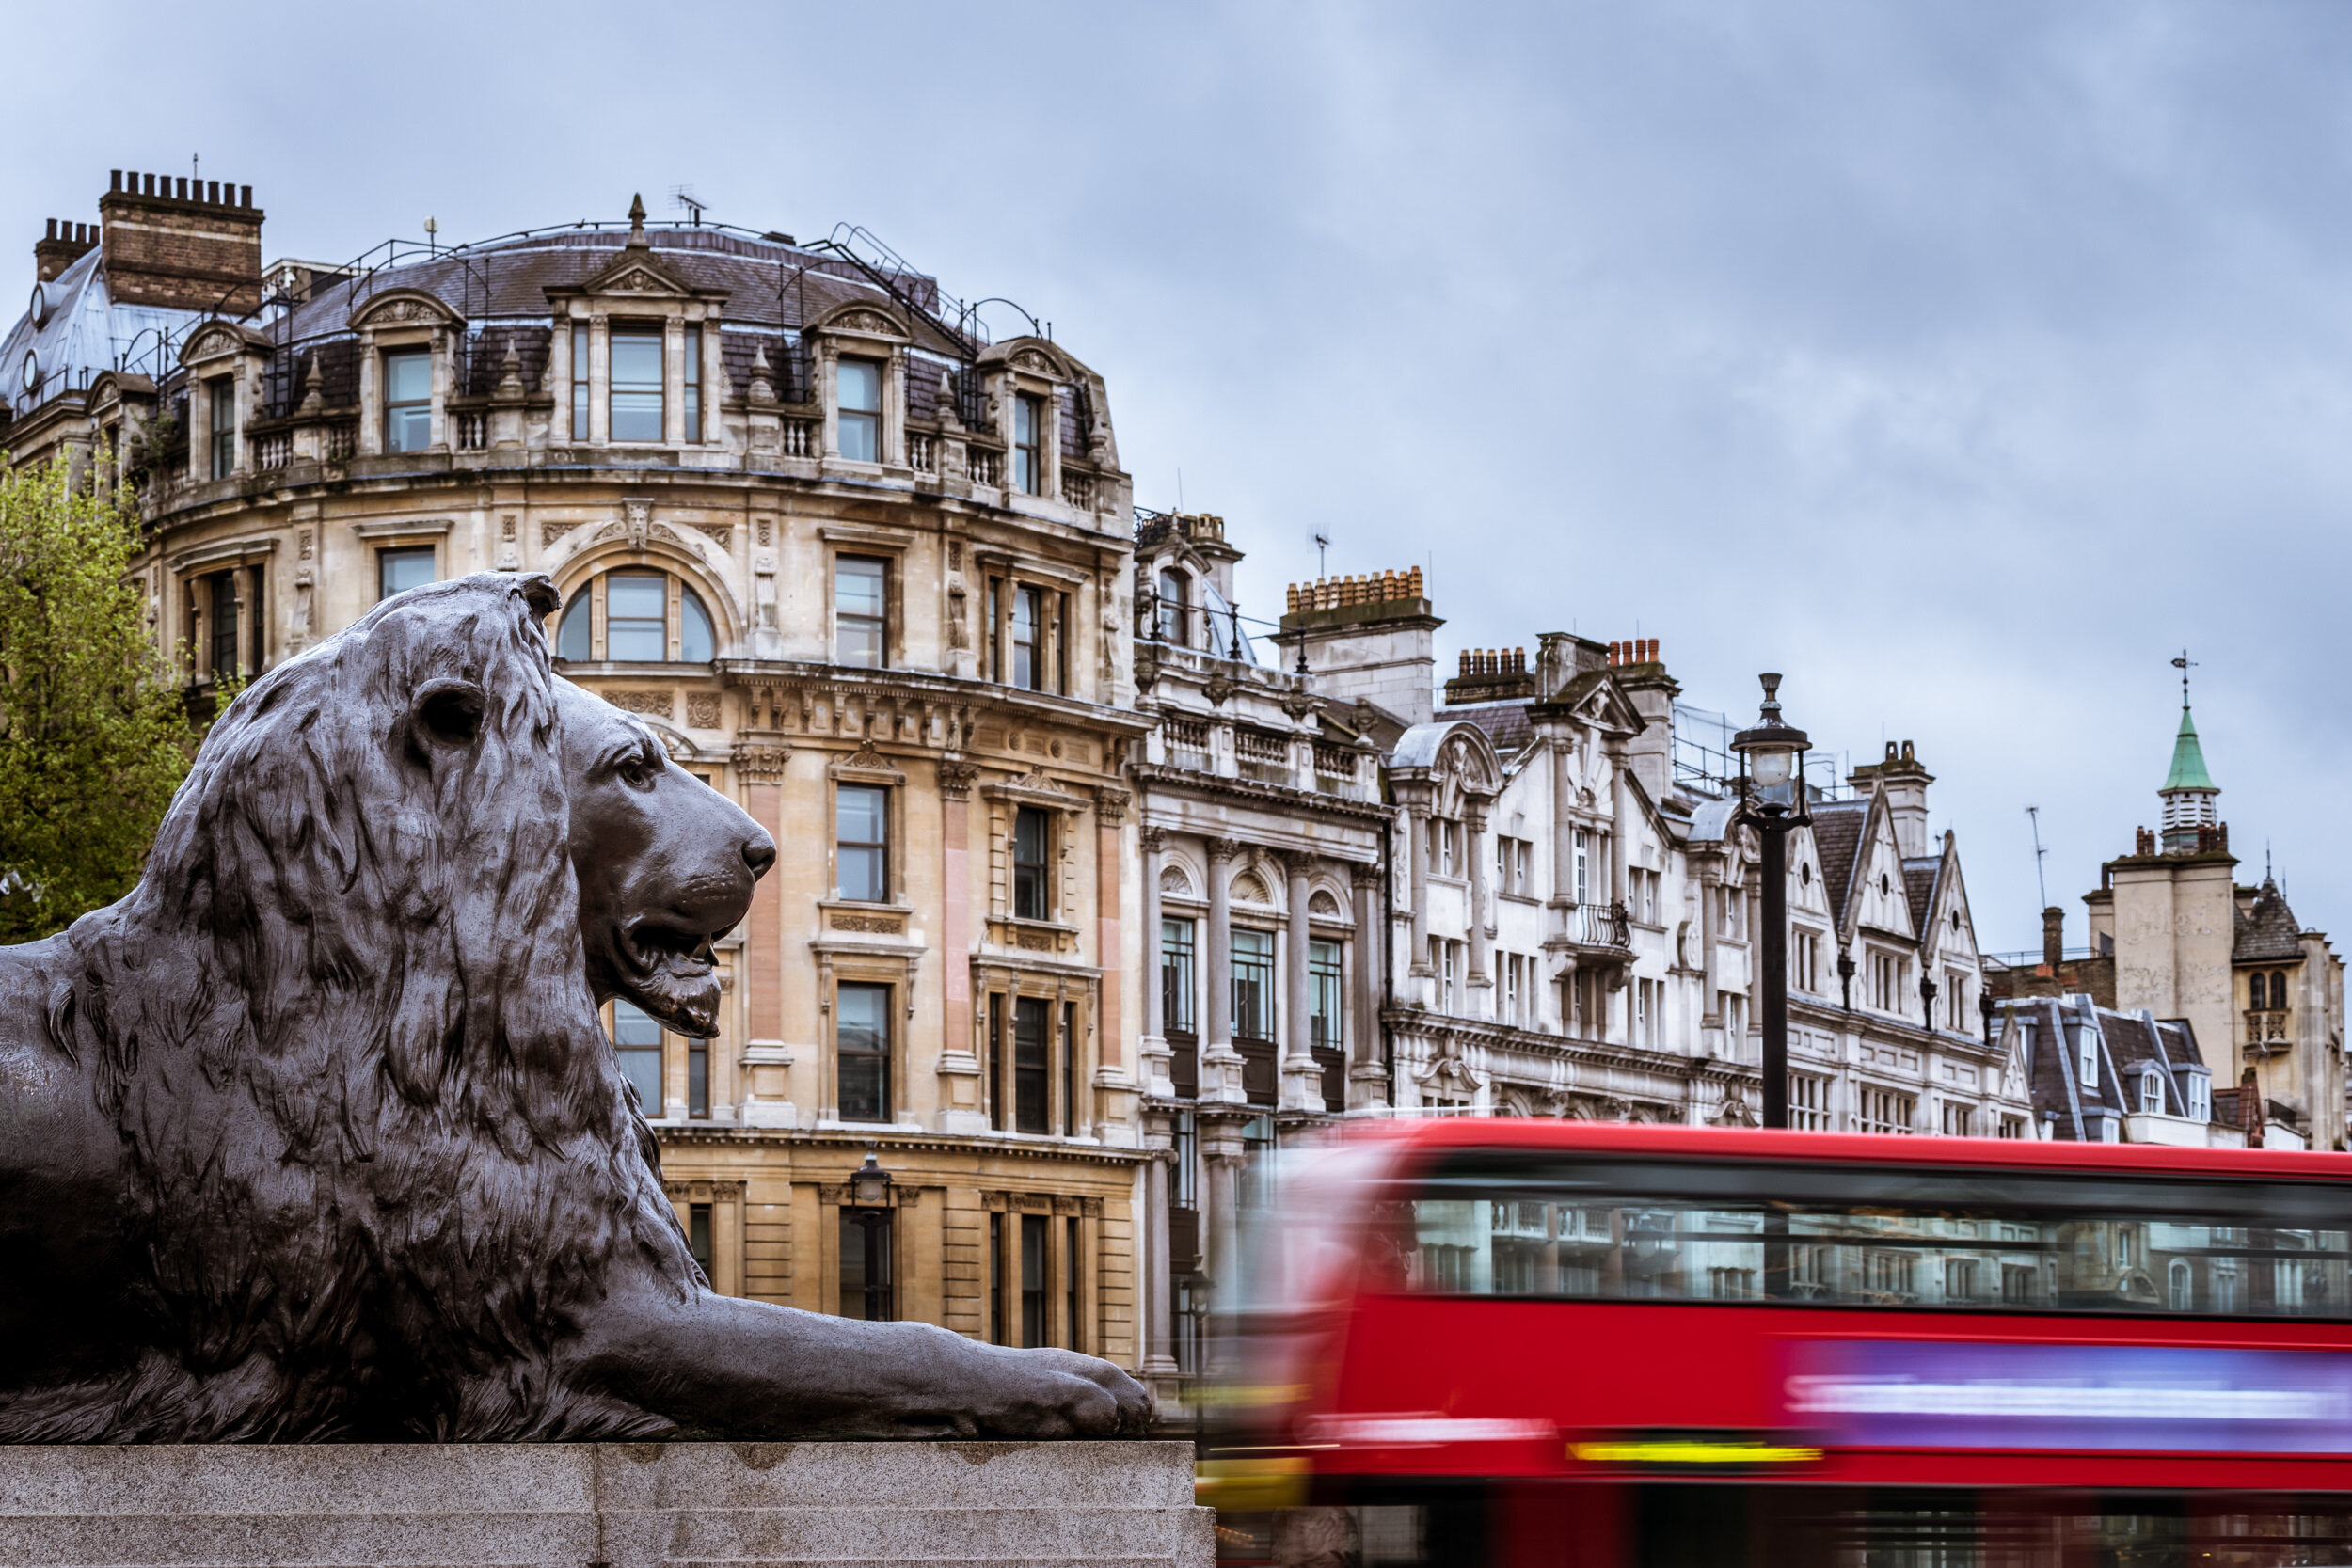
Straight out of camera
After editing
Okay, a little off track there. We’re back now. Let’s talk about post-processing. Specifically, the basic edits that I do on pretty much every single photo. Before we get too far, we do have to discuss file type. What I mean by that is JPEG vs. RAW. JPEG is a compressed file, so your camera does some of the processing work for you. RAW files, on the other hand, are not processed at all and it’s up to you to do all the processing. Let’s discuss the differences a bit.
JPEG
Pros:
Images can look pretty good right out of camera
Image files take less space on your memory card and your computer
Cons:
You are at the mercy of your camera for how the image is processed
Some data is lost in the compression process
RAW
Pros:
More data for processing shadows and highlights, noise, etc.
Much more forgiving for those not-so-great exposure experiences
More control over how the image is processed
Cons:
Image files take more space
Each image has to be touched by you in the post-processing department
So let me sum it up. With RAW files, ALL the data is available to you. So those shadows that are so dark you see no details? Well if you shot in RAW the details are all still in there. Those highlights that are so bright and distracting? With a RAW file, you have a lot more leeway in bringing those down to a manageable level.
It really comes down to this...are you interested in post-processing and want to learn more? Do you want to process ALL of your photos? Are you a control-freak and NEED to process your own photos? Then RAW might be for you. That is exclusively what I shoot in. On the other hand, do you want your photos immediately usable and don’t really care if they are processed perfectly? Are you mostly using your photos for screen viewing and don’t make a lot of large prints? Then stick to JPEG.
The reason we had to go down THAT rabbit hole, is that the post-processing tips I’m going to show you work differently in RAW vs. JPEG. And my before and after examples all started in RAW. ALSO (geez SO many caveats here!) I do all of my post-processing in Lightroom®. It is definitely my editing and organizing software of choice. Now, these adjustments can also be made in other apps/software too, but Lightroom® is where I spend my time.
Straight out of camera
After editing
All right let’s get to it! These basic edits are geared toward travel. So being outside in all kinds of lighting situations. Of course it’s different depending on the photo, but here are edits I frequestly use…
BRING THE HIGHLIGHTS DOWN (slider to the left)
This helps decrease that overbright glare that hits parts of your photo. It’s tough for your camera - or you - to expose perfectly when there is a lot of contrast. So decreasing the highlights helps balance that out.
BRING THE SHADOWS UP (slider to the right)
This helps with that balance issue also for high contrast lighting situations. When you have those dark areas and can’t see what’s in them? Adjusting the shadows is like magic.
INCREASE THE CLARITY (slide to the right)
Clarity enhances the mid-tones of an image. And it’s one of my favorites. It really gives an extra punch and pizazz to an image. Some photographers go a little crazy with this one, it’s really up to your personal preference.
INCREASE THE CONTRAST
I am a fan of a little (or a lot) of contrast in my photos. Which means a larger difference between light and dark tones. This can be done in a couple of ways. The easiest way is to adjust the Contrast slider by moving it to the right. Another way is to increase the Whites and decrease the Blacks. And one more way? Adjust the tone curve - but that might be a bit advanced.
INCREASE THE VIBRANCE
Be careful with this one. A little goes a long way. I know there are trends in photo processing, and for a while the desaturated, dreamy photos were in vogue. But my style has always been deep, rich, and colorful. So a little extra vibrance (not saturation, they are very different) can give your colors just a little more pop.
Straight out of camera
After editing
ALL of these edits are trial-and-error. You slide the slider back and forth until you see what you like. Don’t know what you like yet? Oh, you’ll figure it out, trust me. Your eye will develop after doing it for a while, and suddenly you will be appalled at a flat, dull, constrastless image.
Well, there we are. Basic edits. You might be thinking “wow this was fun and I want more!!”...That’s what happened to me - I really love post-processing. I can disappear for days on end when I’m doing it. But I also know that some folks really don’t want to bother, and I get that too. It’s a whole different skill set, mindset, and creative flow that’s involved vs. making photos with your camera.
Straight out of camera
After editing
If you’re brand spanking new to editing and are ready to get started with Lightroom… Click here for a step-by-step guide to downloading it (the right version - yes it can be a bit confusing).
If you want some more practical tips AND inspiration for improving your travel photos…make sure to grab the free Crazy Good Photos Starter Kit.


