
Camera Settings Tips for 6 Different Travel Scenarios
What do you think is one of the most frequently asked questions that I get asked? How do you say you’re welcome in French? Non. What is my favorite ice cream flavor? No (but it would be chocolate peanut butter in case you were wondering). One of the most frequently asked questions that I get is “what camera settings should I use for….people, food, buildings...And my answer is? It depends. Oh and I know how fussy that word makes people!
So today I’m going to walk you through 6 basic travel scenarios and what my camera settings recommendations would be for them. How nice is that! I sure don’t want anyone to be fussy because of me.
Now when I say camera settings, that can mean a few different things. What I’m referring to here, are specifically the camera settings that impact exposure. The ones we most frequently adjust as we are making photos. Well, the ones you will START to adjust once you venture out of automatic mode with these new tips.
We’re going to talk through 6 different travel specific situations, or subjects: people, landscapes, food, architecture, museums, and outdoor markets. These are some typical scenes or subjects that you most likely encounter when you travel, and will probably want to make some photos of. So let’s dive right in…
The first thing I want you to try (if you’re not already) is to set your camera on aperture priority mode. That is the mode that we’ll be using as I walk through these tips.

Aperture f/4.
PEOPLE
When making photos of people there are a lot more issues than just your camera settings. But in this post we’re going to stick with the basics. We’ll get to the ethics and permissions later, just know I’m not ignoring their importance.
My suggestion for aperture would be f/4. Now you can go lower, say f/2.8 or even lower. BUT when you get into that shallow of a depth of field, it’s going to be really tricky to get your focus exactly where you want it to land. So I think the safe aperture and still a really good shallow depth of field option is f/4.
As far as shutter speed is concerned, well in aperture priority mode, your camera will make that call. BUT (why or why is there always a but!) you do have to keep an eye on that shutter speed, and if it dips to lower than 1/60 second, increase your ISO.
Speaking of ISO, I would start at 100 on a sunny day and increase as needed to keep that shutter speed faster than 1/60 second.

Another photo with aperture f/4. The subject of this photo was the gentleman in the food truck, and so I used f/4 to highlight him, separating him from the rest of the crowd.
LANDSCAPES
For landscapes, generally, a deeper depth of field is what you’re going for. So my recommendation would be aperture f/16-f/22. And then your camera will select the corresponding shutter speed (but don’t forget, if it dips lower than 1/60 second...ISO needs to be adjusted).
As far as ISO goes, start at 100 on a sunny day and increase as needed to keep your shutter speed at 1/60 second or faster. Yes, I’m starting to sound a little like a broken record here. But remember what happens with slow shutter speed?
Slow shutter speed = camera shake = blurry photos
Now there is another option for pretty landscape shots without increasing your ISO. Say for those lovely golden hour shots that might come with really slow shutter speeds? Perfect time to break out the tripod if you have one with you.
Aperture f/16. I wanted the foreground, mid-ground AND background all to be in focus.
FOOD
Now for food, it depends on if you are making a shot of one hero, like the golden, flakey croissant, or the entire table of food... the story of the meal rather than just one component. If you’re going for the hero shot, then f/4 is your new best friend. The whole table? Try f/8. Your shutter speed is the same as we’ve talked about before. Your camera will take care of it, just make sure it’s not getting too slow.
Now for ISO, start at 100 on sunny days if you’re outside,400 if it’s bright and you’re inside. From there increase as needed to keep your shutter speed in check.

Aperture f/8 because I wanted everything in the scene to be in focus.

Aperture of f/4, because I just wanted the front detail of bacon with maple frosting (I’m hungry now) to be in focus.
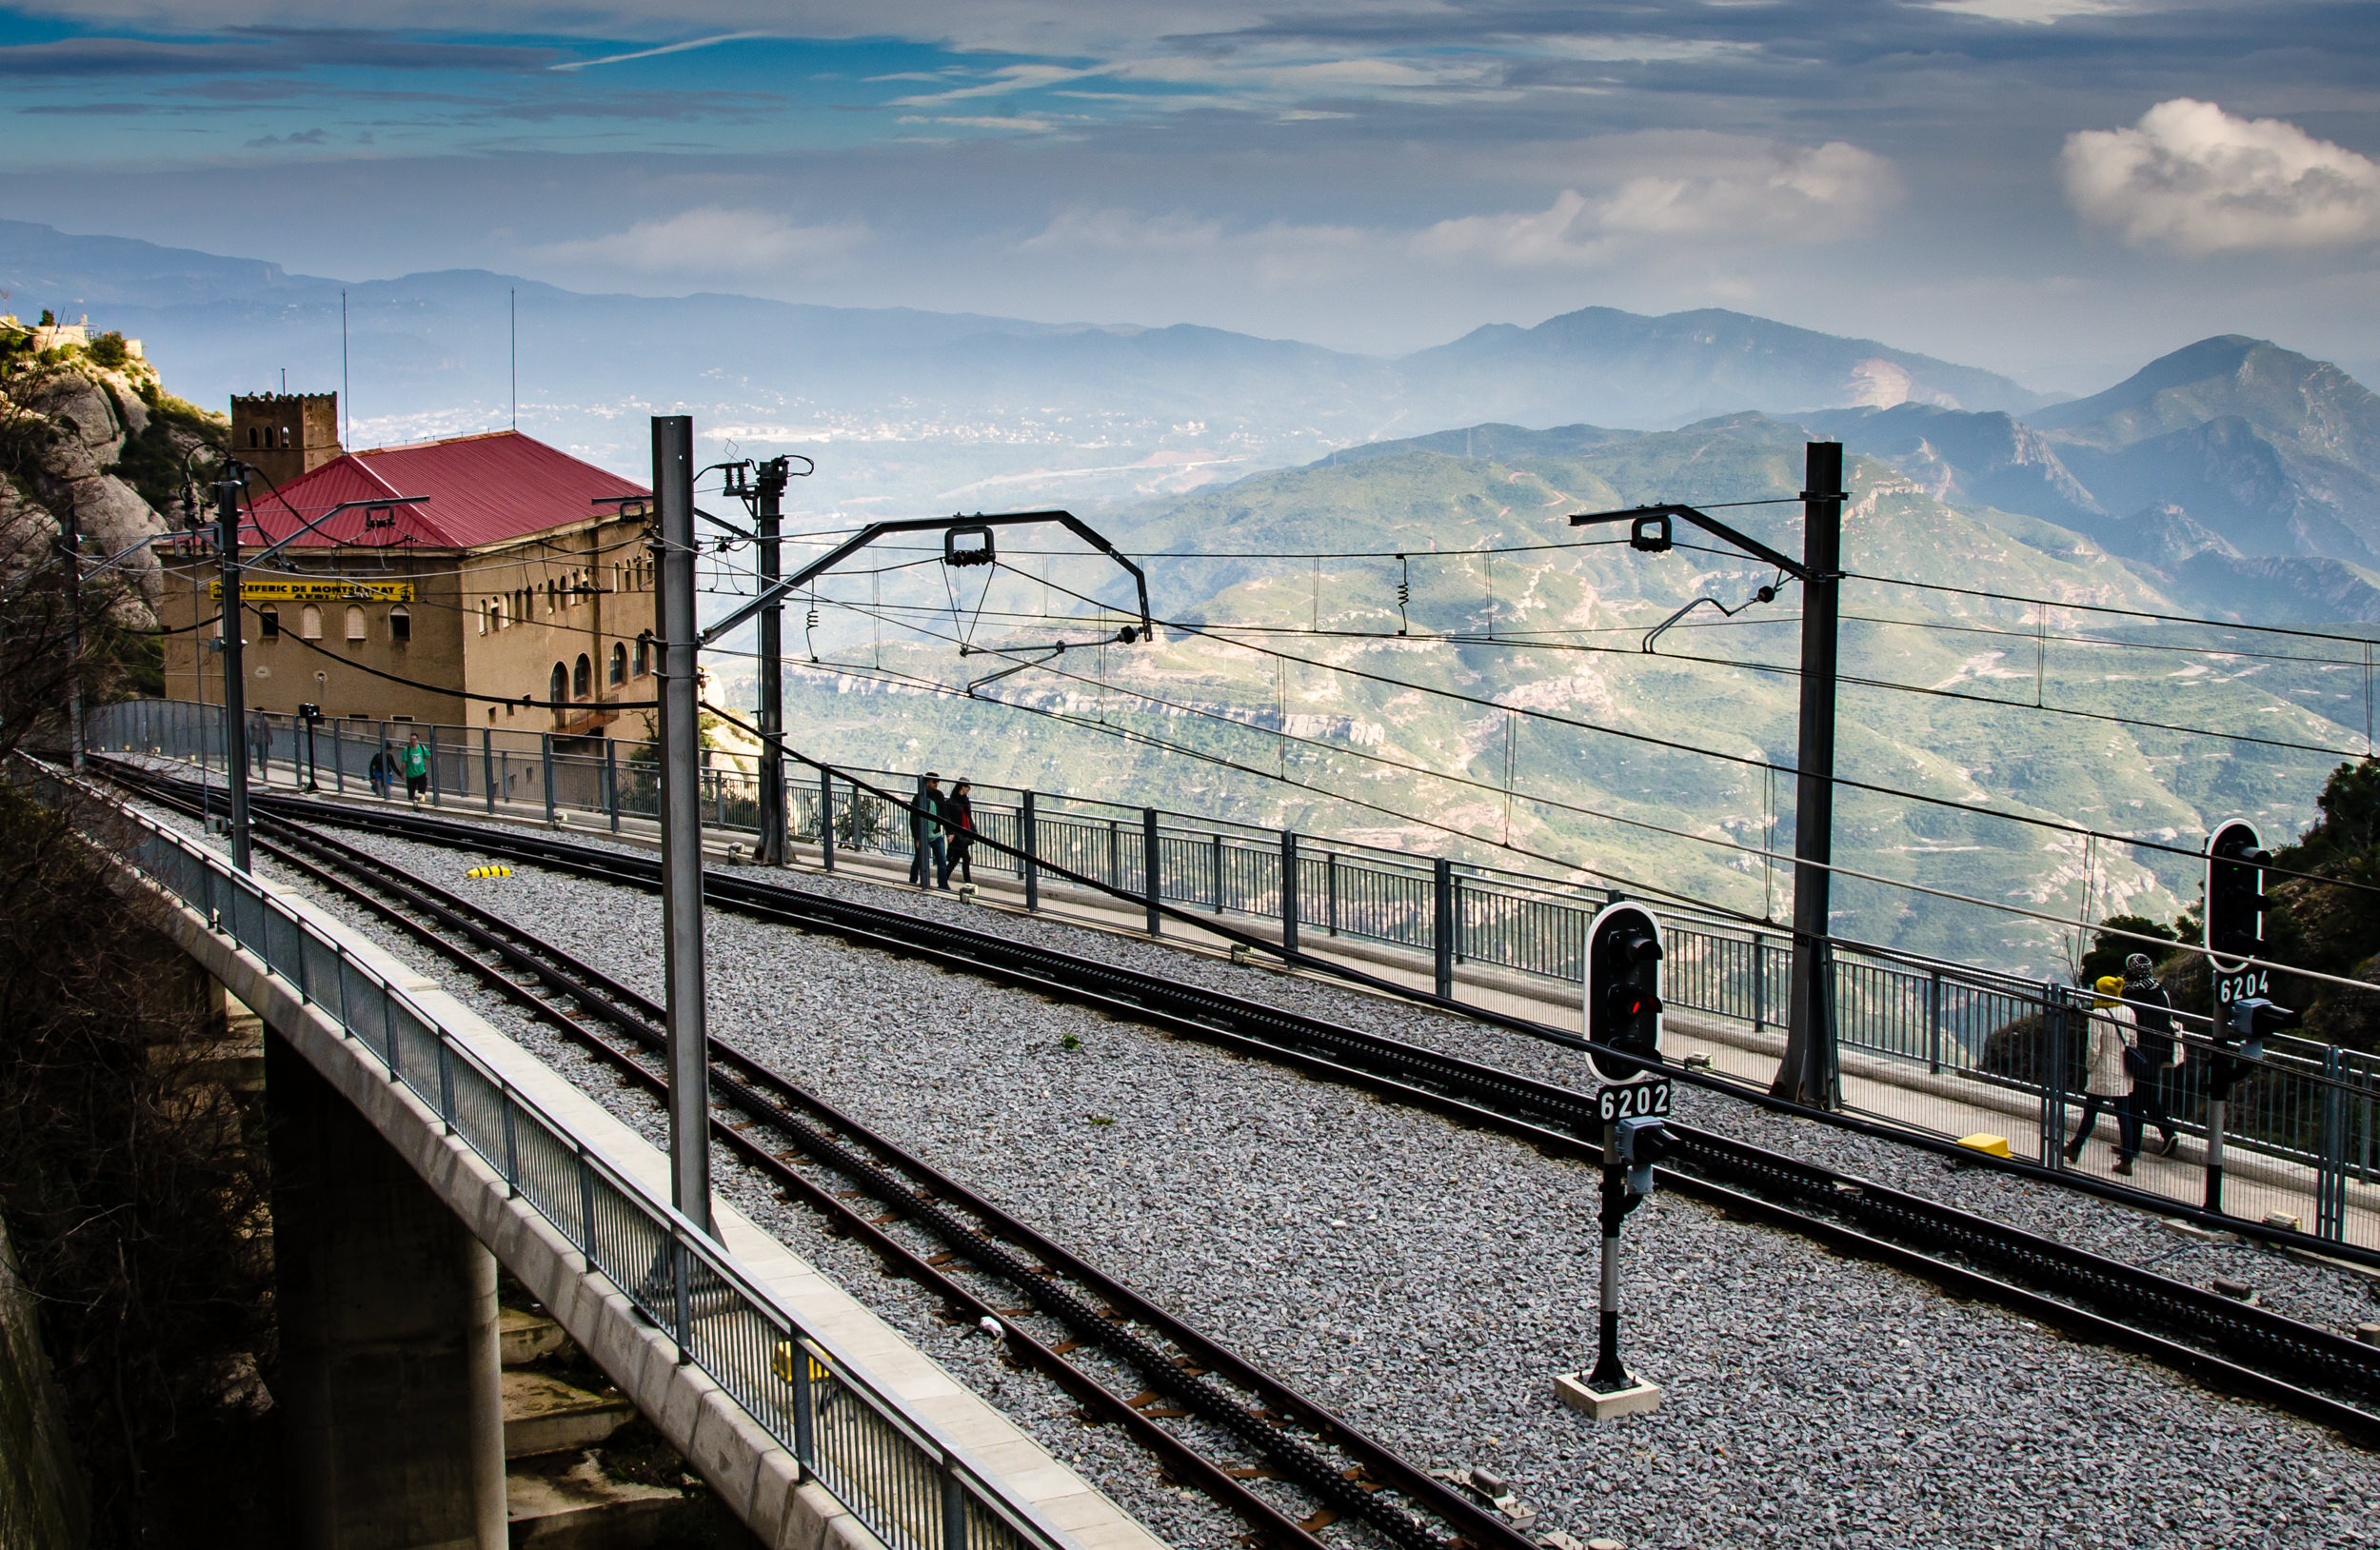
ARCHITECTURE
This is a broad category but includes many different subjects. You might be making photos of the entire building, or doorways, or details of the building, or all of those. Generally, you’ll want an aperture of f/8-f/14. Make sure your shutter speed stays faster than 1/60 second, and you can do that by decreasing the aperture (but don’t get lower than f/8) and/or increasing your ISO.
Start your ISO at 100 for sunny days, and increase as needed.

For this photo of layers of buildings in NYC, I chose an aperture of f/8.
MUSEUMS
If you’re outside of the museum, follow the tips for architecture above. Inside, well that’s a whole other story. Inside the museum if you’re making photos of close-ups for the details, then f/4 is what you want. If you are making photos of an entire room, or scene then f/8 is a good place to start.
The shutter speed will work itself out, but needs to be monitored even closer because likely your light will be quite a bit dimmer inside the museum. Start with your ISO at 400 if your environment is bright, 800 if dim, and then go up from there.

Aperture of f/4 here, to highlight the display of colorful bottles.
OUTDOOR MARKETS
One of my favorites. If you’ve been following me for any time at all, you’re well aware of my affinity for outdoor markets (especially in France). So, the aperture I would suggest is f/4 if you’re going for the details, or a specific person. If you’re getting a single subject but with more context, and want the entire market more focused, then f/8 would be a good choice.
ISO would be 100 on a sunny day, and then increase from there to keep your shutter speed at 1/60 or faster. Don’t forget, your camera will choose your shutter speed.

Aperture of f/8 to show the shopper with context of the produce and rest of the market.
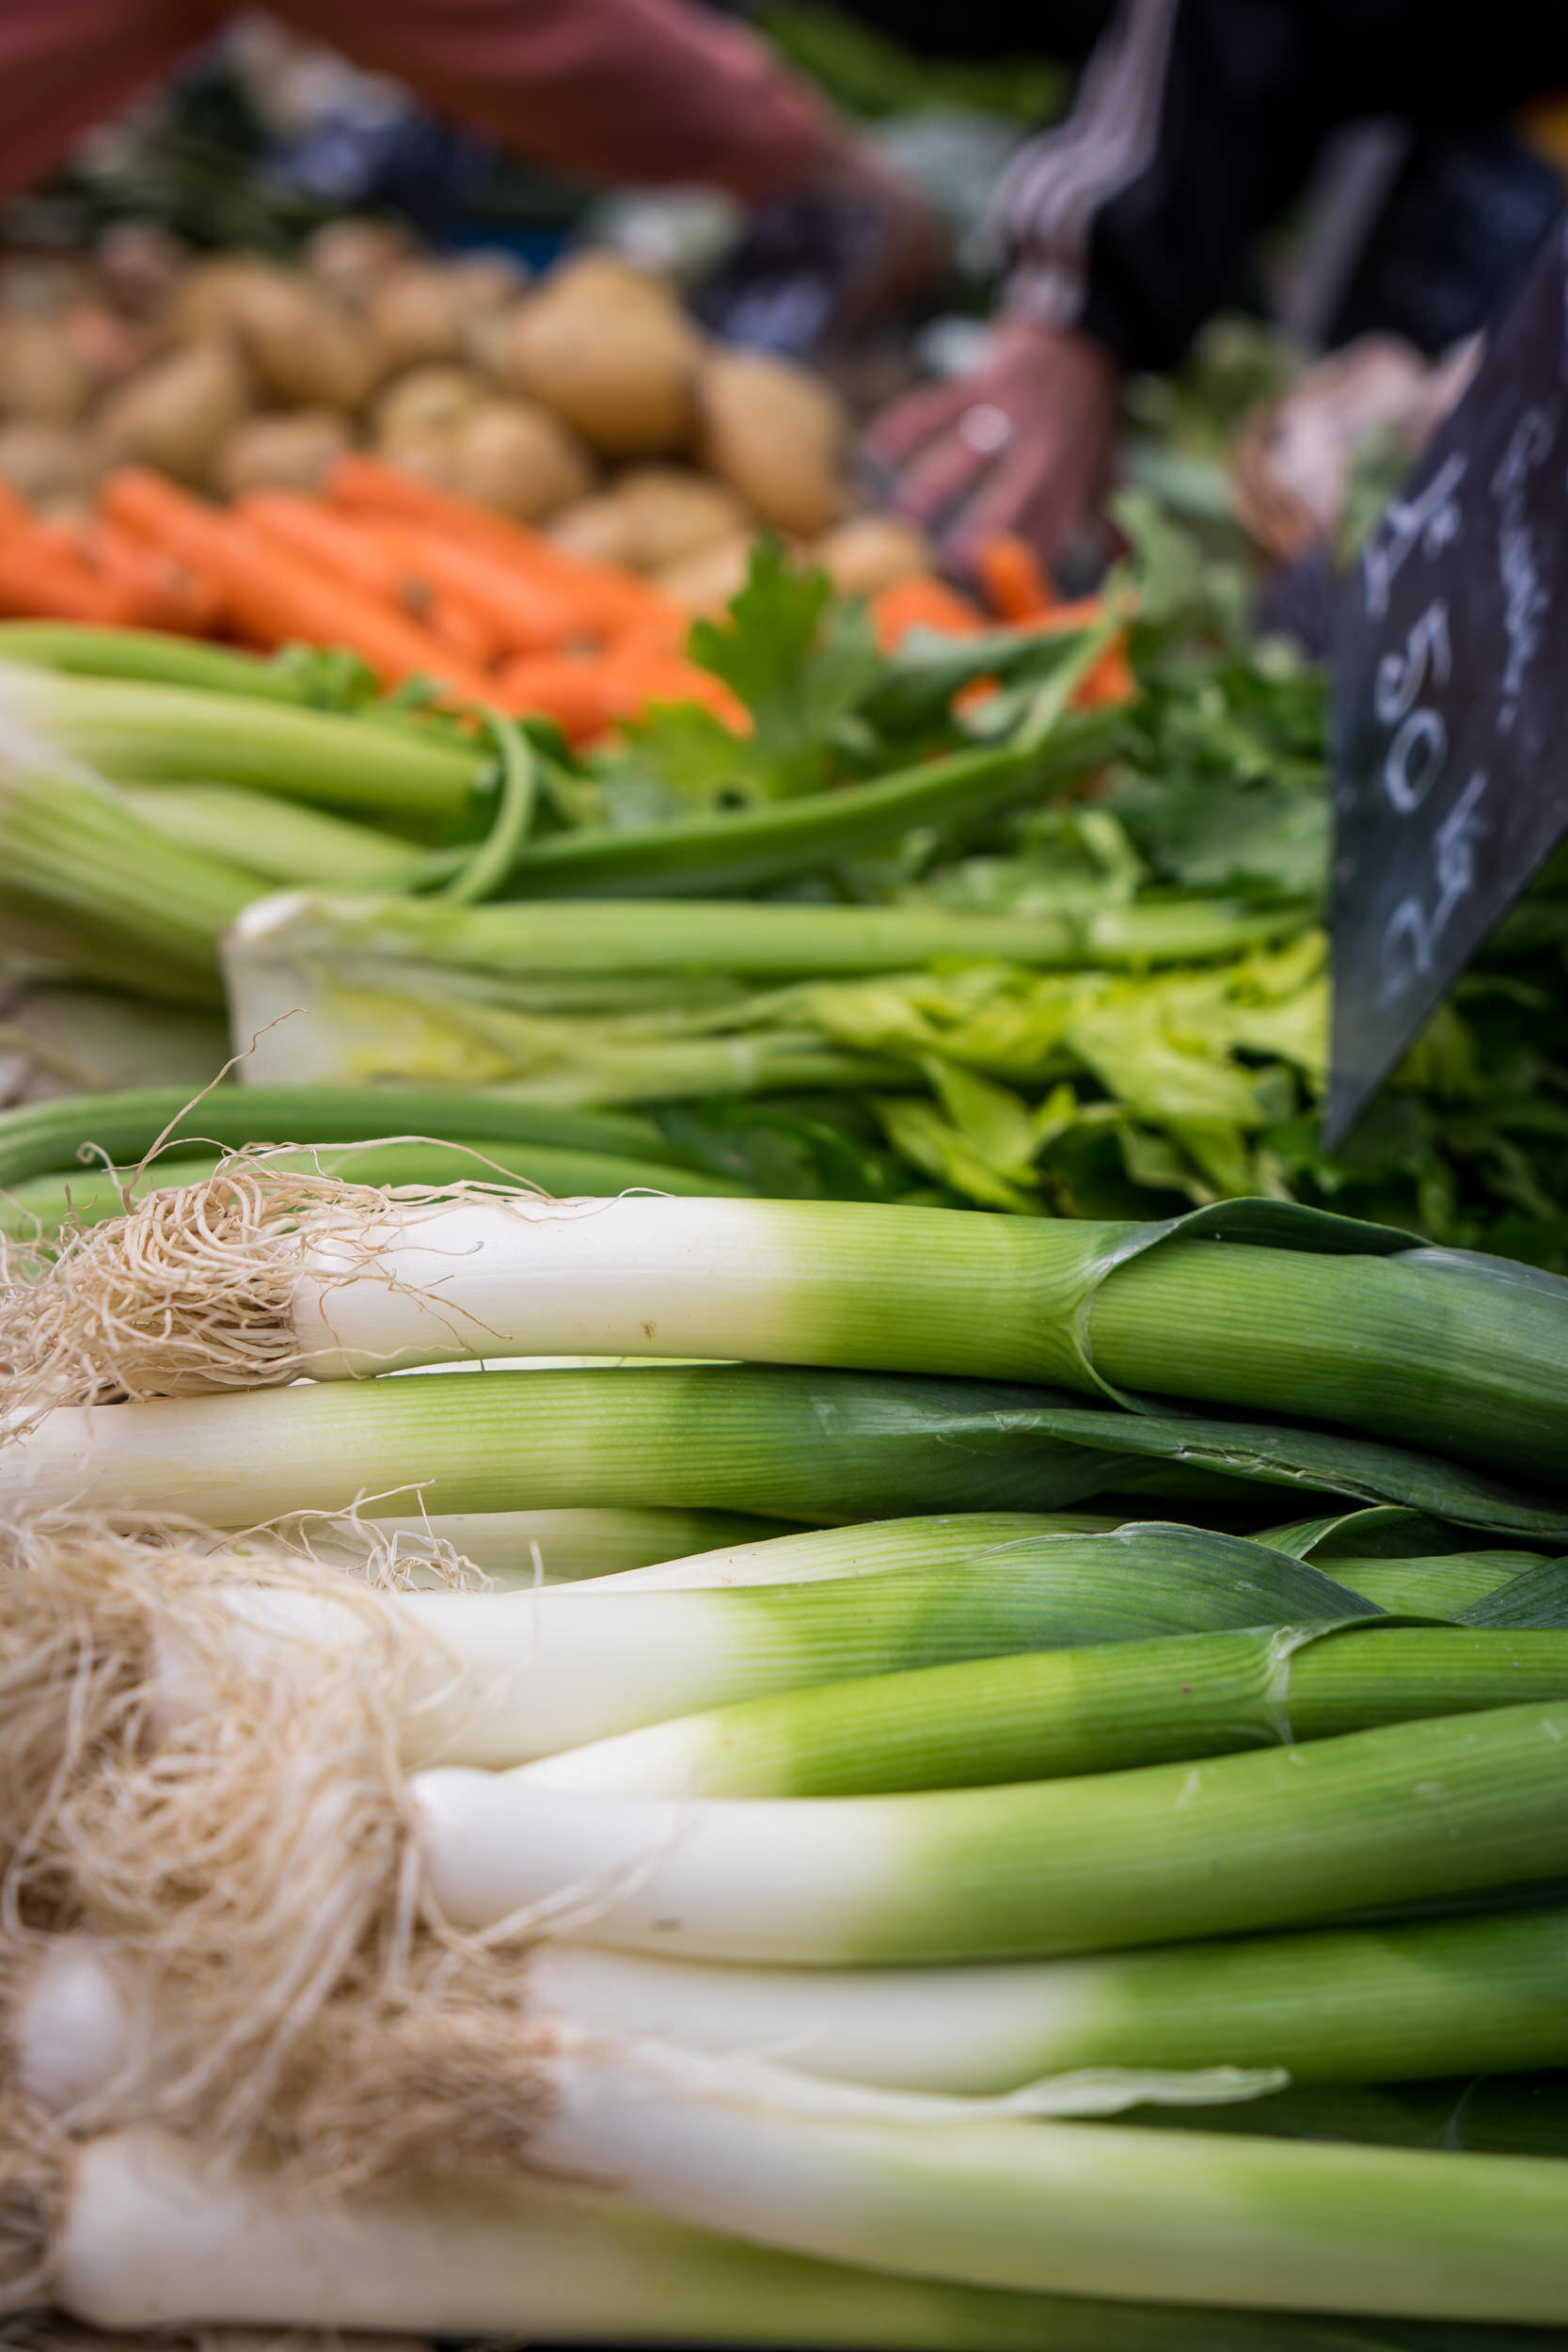
Aperture of f/4 to really draw focus to the lovely leeks.
Now by this point, you probably are starting to notice some patterns. Some repetition in the settings between different scenes, and situations. GOOD! See, it’s all starting to come together. Once you start to see patterns, the next step is remembering them. And then?? Then they’ll become more automatic and you won’t have to think about it all so much.
In case this post was a whole lot of numbers, and a lot of ‘if this then that’...and your mind is having a hard time processing it all, no worries. I kind of figured this is a lot to read and absorb so I organized it into a handy little guide for you to download. You can grab that right here.
Of course, these are only suggestions. A place for you to start if you’re just not quite sure. If you’re ready to get out of automatic mode but hesitant because it’s too much information to sort through. So use the Quick Start Guide I created to give you some suggestions. And then once those are automatic? Well, then it will be time to start trying new things. I mean we don’t want to just settle into comfortable...now do we??